Lavender Make up, the latest Natural Look!

Pantone just announced its selection of UltraViolet as the Colour of the Year 2018 which embodies spellbinding and steeped in spirituality in beauty to offer expressive looks. How can we not to incorporate this color into our makeup look? I know everyone has been wondering how to wear this saturated purple everyday without looking like a runway model. The lavender shade must be what you are looking for, a color of feminity and sacred which can be worn naturally every day. It is a grown-up pink that can be widely accepted. The point of this makeup is all about the blusher, adding the most trendy hue onto the cheeks while remaining the rest of the face simple and minimal. Lavender blusher has become an ideal blush color for both fair porcelain skin and yellowish skin tone which can complement the fair skin and brighten up the yellowish skin to look fairer. Forget about your dreamy pink blusher and coral orange blusher, let me introduce the fashion's new favorite blusher, the lavender tone.


To avoid base makeup from melting and smudging, apply the primer at the T Zone, inner cheeks, and chin. This step is crucial to smoothen the skin by blurring the pores and fine lines, protect the skin from Ultra Violet rays and pollution while improving makeup absorption to prolong makeup wear.
Product Used: NARS Smooth and Protect Primer (SPF50 PA++++)

Girls who have redness on the face can apply green concealer on specific areas to cover up the blemishes and neutralize the redness for even skin tone. Apply around the nose wing to cover up the blood vessels by finger to blend the concealer evenly and thinly.
Product Used: CLIO Liquid Colour Concealer #02 Green

Utilize a dual color concealer stick to cover up the blemishes on the face. Purple concealer is perfect to counteract the darker yellow tones around the mouth to brighten the yellow-tinted discoloration on your face.
If you are having cool tones dark undereye circles, there are two concealer tones which you can choose according to your complexion. For people who have a darker skin tone, orange concealer should be your choice to neutralize the dark eye circles. You will need to pick up a peach-based color concealer if your complexion is too fair to match an orange concealer. Use finger to distribute the concealer thinly on the blemishes.
Product Used: WakeMake Dual Contour Stick Crayon Correcting - Contour #no.06 Colour Correcting

Only apply cream concealer thinly and evenly at blemish spot in order to have a clearer and thinner base makeup. Layer up the concealer at specific spots which require more coverage. Dab the cream concealer by using hands-on a wide area such as cheeks which requires coverage.
With the aid of concealer brush to distribute the cream concealer on a small area such as nose wing which requires attentive coverage.
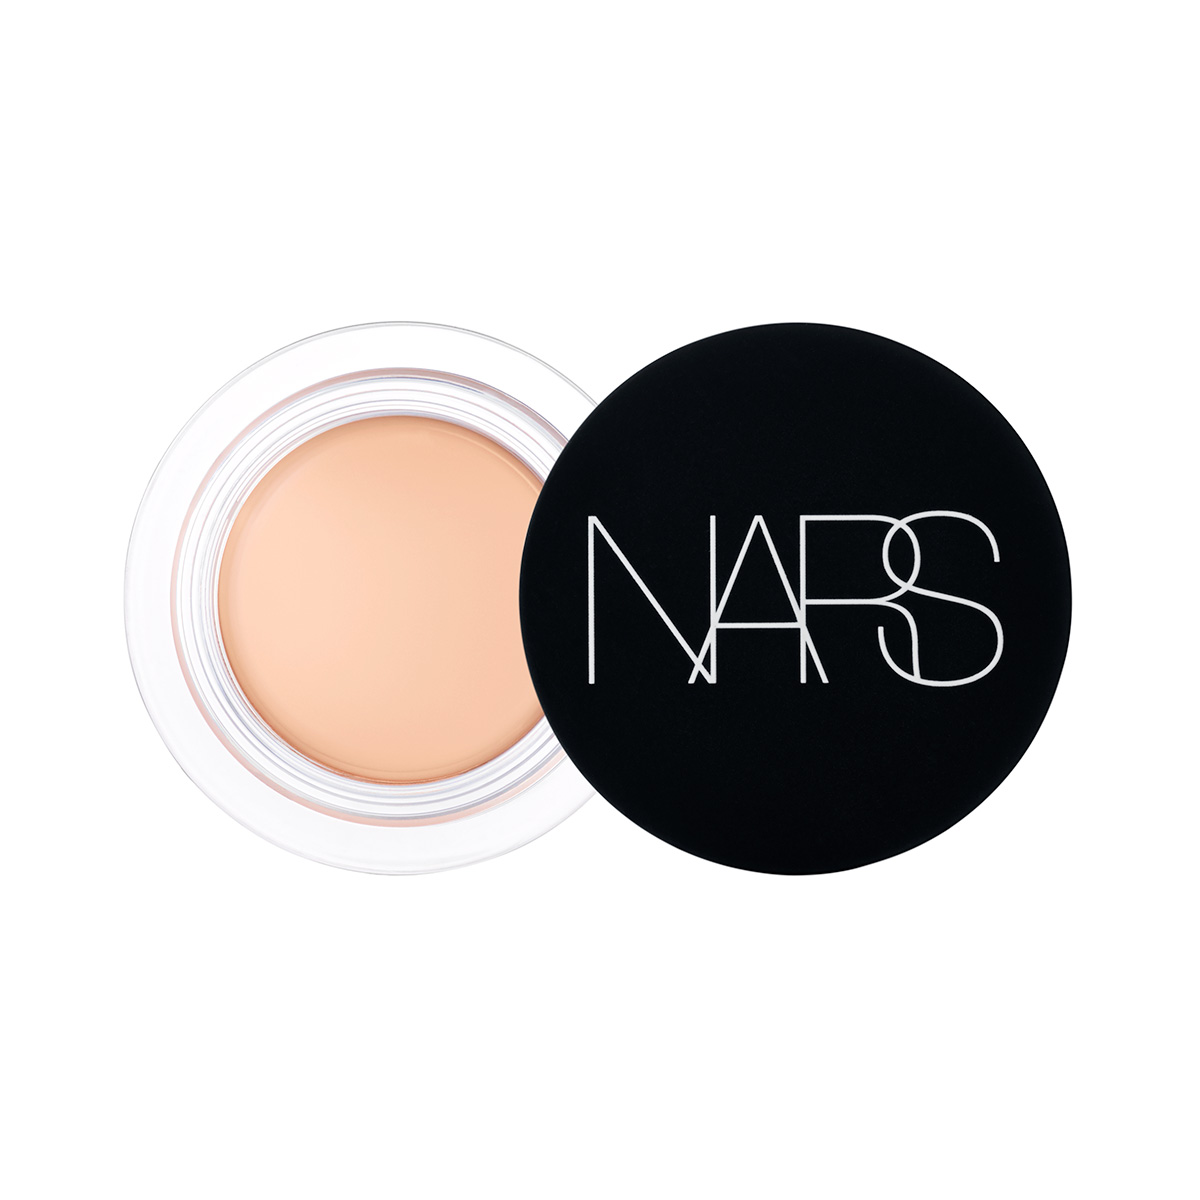
Here is a makeup trick for light and translucent base makeup, cover up all blemishes with concealer before applying foundation or BB cream. The thin application of foundation which layers on the concealer will create an illusion of clear and translucent base makeup and give a healthier and natural skin appearance.
Product Used: NARS Soft Matte Complete Concealer #Vanilla

Only a little amount of foundation is needed for this step to achieve a transparent and natural finish. Spread out an adequate amount of foundation evenly on your face by using a cushion puff.
Product Used: Urban Decay Naked Skin Weightless Ultra Definition Liquid Make Up #1.0

Before starting off the eye makeup, dab adequate amount of eye primer on the eyelids and underneath the eyes. It helps to prevent eyeshadow from creasing to stick better onto the eyelids and stay on longer.
Product Used: Urban Decay Eyeshadow Primer Potion #Original

Applying face powder to fix the base makeup and improve the performance of eye primer. More attention is needed for T zone and hairline when applying the powder.
Product Used: Laura Mercier Mineral Finishing Powder

Utilize a green tone fixing powder with glitter powder as a highlighter and apply it on the cheek to obtain a plumper cheek for a younger appearance.
Product Used: AMELI Baked Powder #07 Green Mellow

Moving on to eye makeup, the eye makeup is kept simple and natural purposely to keep everyone's attention on the blusher. Firstly, apply nude shimmer eyeshadow widely on the eyelids and blend it evenly with an eyeshadow brush.
Product Used: Innisfree My Eyeshadow #02 Shimmer

Apply a brown colored eyeshadow near the upper and lower lash line of both eyes and extend it to the outer C corner of the eye to add a gradient to the eye makeup
Product Used: BBIA Shade and Shadow #03 Adlay

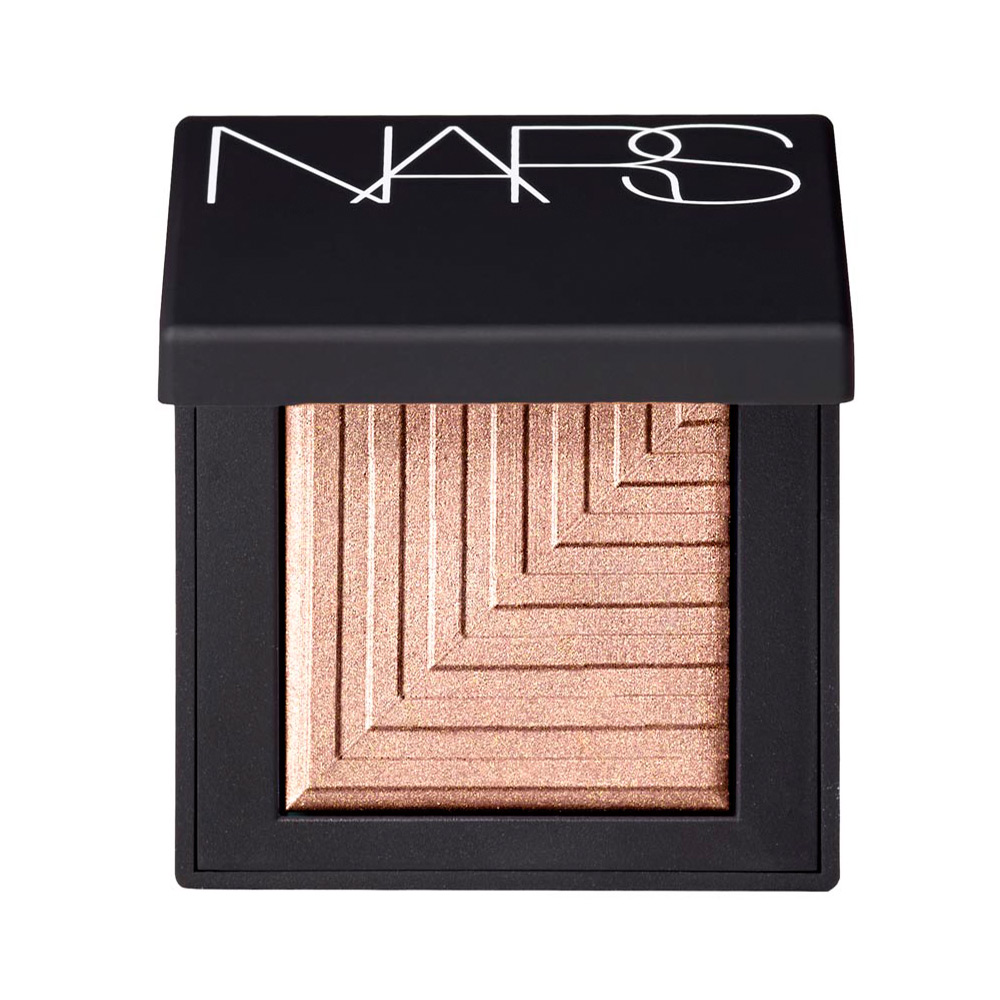
It's time to add some hue to brighten up the eye makeup look. Using a small brush to apply dried rose tone eyeshadow with glitter powder to the front corner of the lower lashline.
Product Used: NARS Dual-Intensity Eyeshadow #Rigel

Choosing a gel eyeliner because it lasts longer and does not smudge easily hence keeping the eye makeup neat and clean for the whole day. Drawing the line along the gaps between the lashline and avoid drawing any wing to keep the eyeliner clean and natural.
Product Used: TonyMoly Easy Touch Gel Eyeliner #01Black

Comb and curl the eyelash before applying mascara to avoid the mascara from clumping together. Coat both upper and lower eyelash to portray a more vivid eye makeup look.
Product Used: Maybelline Lash Sensational Blooming Mascara

Apply brown shading powder on eyebrows with a brush as a base of eyebrow makeup.
Product Used: BBIA Last Blush #08 Peanut Blossom

Next, use an eyebrow pencil with a lower saturation of greyish tone to fill in the gaps in the eyebrows for a softer and more natural appearance.
Product Used: Shu Uemura Hard Formula Eyebrow Pencil #02 Seal Brown

The last step to complete the eyebrow makeup is to thicken the eyebrow hair by applying brow mascara.
Product Used: Kiss Me Heavy Rotation Coloring Eyebrow #04
Complete the eye makeup by applying pink shimmer eyeshadow at the center of the eyelids to let the eyes sparkle.
Product Used: Addiction The Eyeshadow #099

Here comes the main highlight of this makeup look, the lavender blusher. Apply the blusher with a brush from the center of the cheek and blend it out softly outwards.
Product Used: A'Pieu Pastel Blusher #VL01

Contouring is an unskippable step to enhance the facial feature. Using bronzer at the hairline and jaw for a smaller and slimmer face. Shape the nose with bronzer so the nose will appear sharper.
Product Used: BBIA Last Blush #08 Peanut Blossom

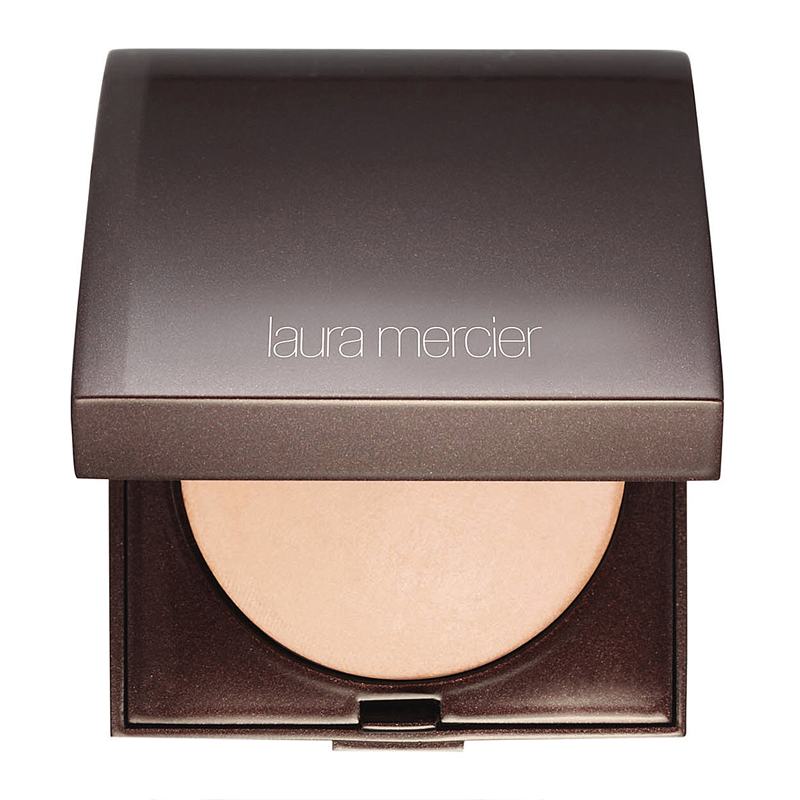
The facial feature is further enhanced by applying highlighter on the nose bridge, nose tip and cheekbone.
Product Used: Laura Mercier Matte Radiance Baked Powder Highlighter #01

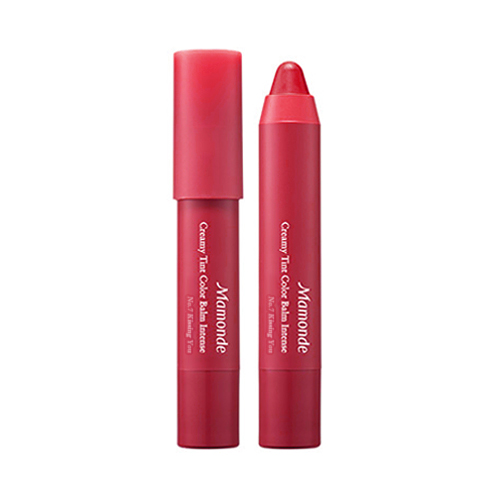
Apply the lip tint to the inner part of the lips and blend it out using a finger for natural gradient lip makeup. Add the second layer of tint all over the lips for a more vibrant appearance.
Product Used: Mamonde Creamy Tint Color Balm Intense #05 Blooming Rose

To keep the lip makeup lasts longer with vibrant appearance, application of lip top coat is necessary.
Product Used: Holika Holika Pro Beauty Lip Top Coat

Use Makeup To Highlight Your Face, Not To Hide It.
"The Best Thing Is To Look Natural, But It Takes Makeup To Look Natural." - Calvin Klein